Design. Create. Decorate.

Design. Create. Decorate.

Friday, September 25, 2015

Something About This Old Dresser - DIY

Hey there, welcome back to Quince Cottage! We hope you're enjoying the autumn weather, wherever you may be.
Do you love to go thrifting/antiquing/junkin'? We do! If we have a specific item in mind, it's like a treasure hunt, but sometimes we go just to see what's out there, and find treasure accidentally.
Recently we were looking for a dresser for our master bedroom. The one we had was smallish, and not well-made. Ron hated it. I was kind of meh about it. Anyway, we checked our local thrift/antique stores, scoured Craigslist and local online yard sales, and a few came close. Unfortunately they were either too beat up, too big, too small, or too expensive.
Then one day we checked out a place in Raleigh that changed hands not too long ago, and a dresser caught our eye. The curvy profile, along with the wood's beautiful color and graining made us take a closer look. The drawers actually slid quite well. It wasn't missing a leg. And the price? It was pretty reasonable.

Dresser in shop © Rhiann Wynn-Nolet
Not wanting to make a hasty decision, we continued through the rest of the shop. And then we saw another piece.

We both had this kind of reaction...

cartoon disney gif


By the way, our dog Buster is a LOT like Doug in terms of personality.

Buster © Rhiann Wynn-Nolet
But I digress...

We hemmed and hawed. What should we do? Buy just one piece? If so, which one? We'd really been looking for a dresser, but maybe an armoire could take its place, if we added shelves...

Or maybe the owner would give us a great deal if we took both? We asked. He said he would. We weren't sure where the armoire would even fit anywhere in our home. Measurements were taken. We went back the next day and bought them both!
Here they are in our garage. That's the back of the armoire. Definitely a home-made piece, which is a good part of its charm.

© Rhiann Wynn-Nolet

However, this is the dresser's story (the armoire will get its turn later on down the road). Yes, I did say the color and grain of certain parts of the dresser were gorgeous. Other parts, not so much.

© Rhiann Wynn-Nolet
© Rhiann Wynn-Nolet
The wood on the drawer fronts and top was lovely, but dried out and dirty.
© Rhiann Wynn-Nolet
The finish wasn't original on the other parts (kind of orange-y and shellacked). What to do? If you're offended by the painting of furniture, you'd best leave now...

We'd seen another dresser in a different shop that had been partially painted and it looked fabulous (the price tag, not so much). We decided to hack the look. Ron thoroughly cleaned the whole piece, and put a coat of clear acrylic polyurethane on the drawers' interiors. He also replaced a missing drawer stop with a piece of paint stirrer, and waxed the drawer runners with a candle to make them slide even more smoothly. He took the mirror off and removed its supports. Next he taped off the parts of the dresser he didn't want to paint (the lovely grainy parts).

© Rhiann Wynn-Nolet

Then he applied a coat of green latex paint.

 Note replaced drawer stop © Rhiann Wynn-Nolet
© Rhiann Wynn-Nolet

Once it was dry, he sanded it off in areas that would naturally become worn (and this is a really key step in creating an authentically distressed look).

© Rhiann Wynn-Nolet

Then he wiped dark stain along those sanded areas.

© Rhiann Wynn-Nolet

Finally, after the stain dried, he applied paste wax to the entire piece. Waxing really brings out the warmth and beauty of wood grain and helps prevent it from drying out.

Drawers before paste wax © Rhiann Wynn-Nolet
Drawers after paste wax © Rhiann Wynn-Nolet
Next we put the mirror back in place, lined the drawers with paper, and moved the dresser to its destination, where we styled it for fall!

© Rhiann Wynn-Nolet
Here it is a little more lit up.

© Rhiann Wynn-Nolet

Thank you for visiting, we hope you come back soon!
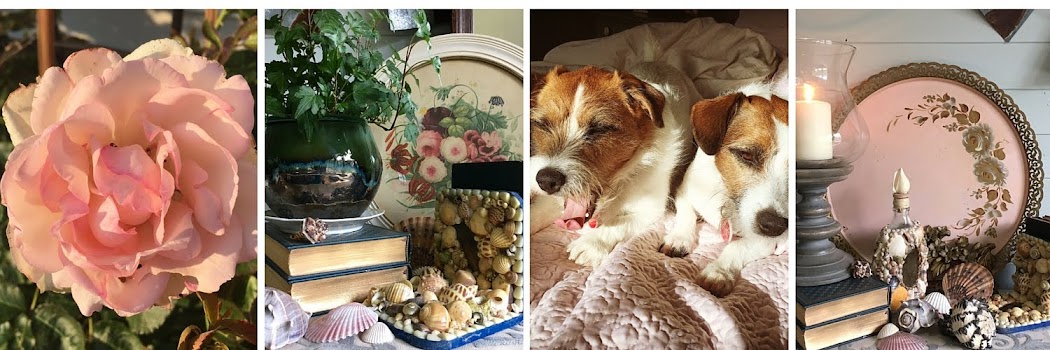
Quince Cottage Style mixes old and new, rustic and opulent. Our goal is to make our

 new subdivision house look inviting and beautiful,

and as though it wasn't born yesterday. 


Friday, September 11, 2015

Sesame Chicken

Take-out Chinese is a favorite at Quince Cottage, but in the interests of trying new things and saving a little bit of cash, we sometimes do a combo of homemade and restaurant. Case in point, this lovely Sesame Chicken dish below. We got this recipe from a local flyer and changed it up a bit to make the flavor brighter.

Sesame Chicken © Rhiann Wynn-Nolet

Like all Quince Cottage tested and approved recipes, this one's easy, customizable (to a degree), and yummy. We ordered shrimp egg rolls and some lo mein to go with it.

RECIPE:

Ingredients
Sauce 
2 TBS reduced sodium soy sauce
2 TBS orange juice (if you use fresh, grate a 1/4 tsp or so of peel and add)
1 1/2 tsp toasted sesame oil (ideal, but canola oil would work)
2 1/2 tsp brown sugar (honey would probably work too)
2  tsp rice vinegar (ideal, but apple cider would also work)
1 (1 inch) piece fresh ginger, peeled and grated (store extra ginger in a baggie in the freezer)
1/2 tsp minced garlic in oil
2 TBS sesame seeds
1 TBS cornstarch
Chicken
1 egg
2 TBS cornstarch
Pinch salt
Pinch pepper
1 lb. boneless skinless chicken (breast or thigh meat)
Garnish with chopped scallions if desired

Directions
1. In a small bowl stir together soy sauce, OJ, oil, brown sugar, vinegar, ginger, garlic, sesame seeds and cornstarch
2. To prepare chicken, whisk together egg, cornstarch, salt and pepper. Cut chicken into 1" pieces. Toss chicken in egg mixture.
3. Heat vegetable oil in large skillet over medium-high heat. When oil is very hot, add chicken. Cook, stirring occasionally, until chicken is golden brown and cooked through (7-10 minutes). Drain off excess oil if desired.
4. Pour sauce over chicken. Toss to coat. Sauce will thicken as it heats. Remove from stove when heated through and sufficiently thickened. Serve to plate and garnish with scallions if desired.

And since no post is complete without a picture of at least one of our cute Irish Jack Russells, here's Buster with his all-time favorite toy. It's going to be a tragic day when that thing gives up the ghost.

Buster © Rhiann Wynn-Nolet

Quince Cottage style is where rustic and sparkly rub shoulders. 
Think gilded mirror against a plank wall, and you'll know what we mean. 
We prefer our opulence a little beat up and our recipes 
GOOF-PROOF!


Saturday, September 5, 2015

DIY - Kitchen Cabinet Hardware Part II Installation

Hey there, welcome back to Quince Cottage!
Once the fun of choosing cabinet hardware is over, it's time to get down to business and install it. In our last house this was done by the builder's crew. Let's just say they weren't as picky as we are. There were pulls that were cock-eyed and out of alignment. Not by a whole lot, but it really brings the kitchen design down a couple of notches when this happens.
You know what we're going to say next, right? Yep. Measure twice, drill once. To find the exact center of a drawer, if that's where you want a single knob installed, then simply make two diagonal lines that intersect at the precise center. (This is actually our older daughter's bathroom vanity, by the way).


© Rhiann Wynn-Nolet

Once you've made your pencil mark, drill straight through the drawer, then insert the knob stem and use the nut provided to hold it in place.

© Rhiann Wynn-Nolet

There are some handy gadgets out there to help make sure your placement remains consistent.And here is a mounting template from Lowe's, which costs less than $5 and is really helpful when you aren't mounting something in the exact middle.

See? Here's Ron, using it for a long kitchen drawer which needed two pulls. Measure in from each side of the drawer with a ruler for getting the spacing you want across the front of the drawer, then choose the template holes which match the width of your pull and the desired up/down placement. You can see the pulls we used on the cabinet doors in the same photo.

© Rhiann Wynn-Nolet

And if you want to see what our kitchen cabinet hardware looks like installed, then take a look here.

Daisy finds cabinet hardware to be a pretty boring topic.

Daisy © Rhiann Wynn-Nolet
Buster enjoys hanging with the pack, whatever the activity is.

Buster © Rhiann Wynn-Nolet

Quince Cottage Style mixes old and new, rustic and opulent. 

Our goal is simple - make our new subdivision house look inviting, beautiful, and as though it wasn't born yesterday.